
Enhancing HVAC System Installation Efficiency with SuperLock Pipe Hangers
A gas company facility in Glendale required a reliable HVAC system upgrade, as it operates
A gas company facility in Glendale required a reliable HVAC system upgrade, as it operates

Palone Bros., a leading HVAC contractor, recently undertook a significant project in the heart of
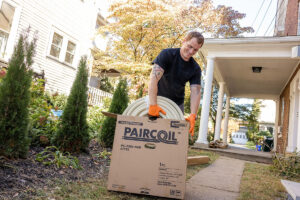
A picturesque chalet by Lake Carobeth in Tobyhanna, PA, is ready to welcome guests in

Diana Place, Nyack’s latest boutique apartment community, sets a new standard for sustainable living with
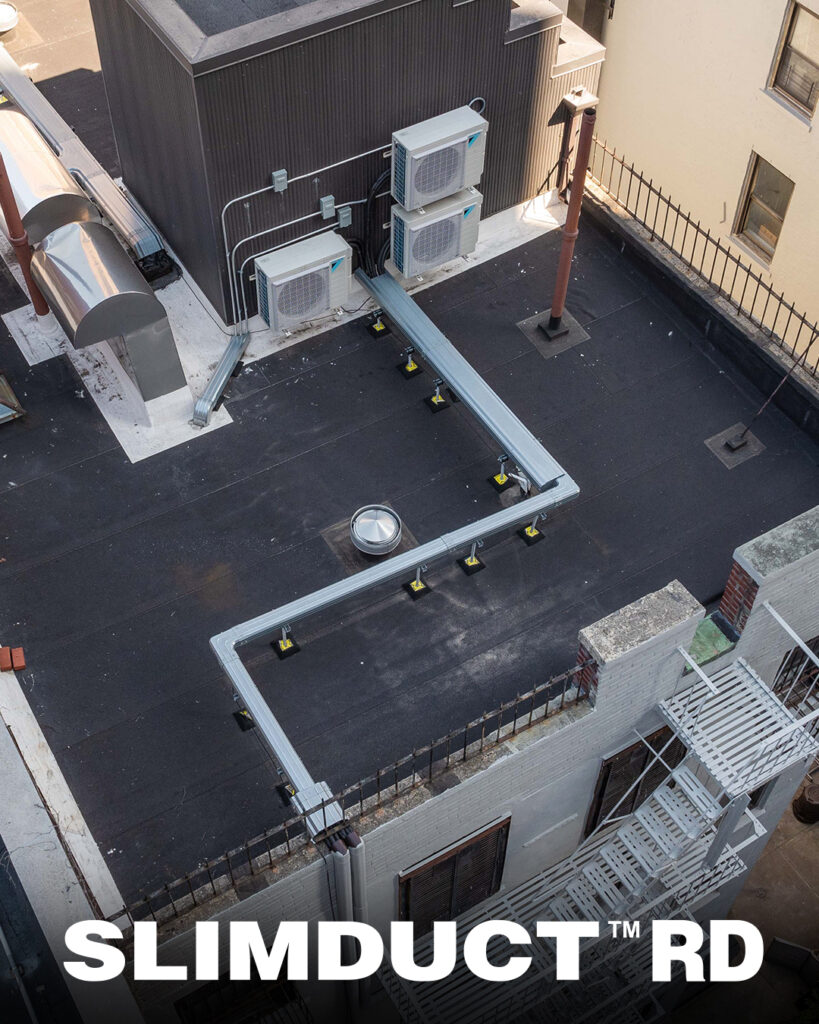
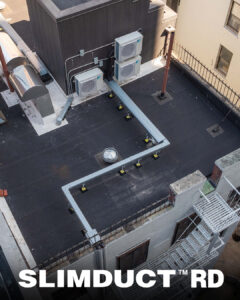
A retrofit project in a New York City apartment building aimed to install individual heat
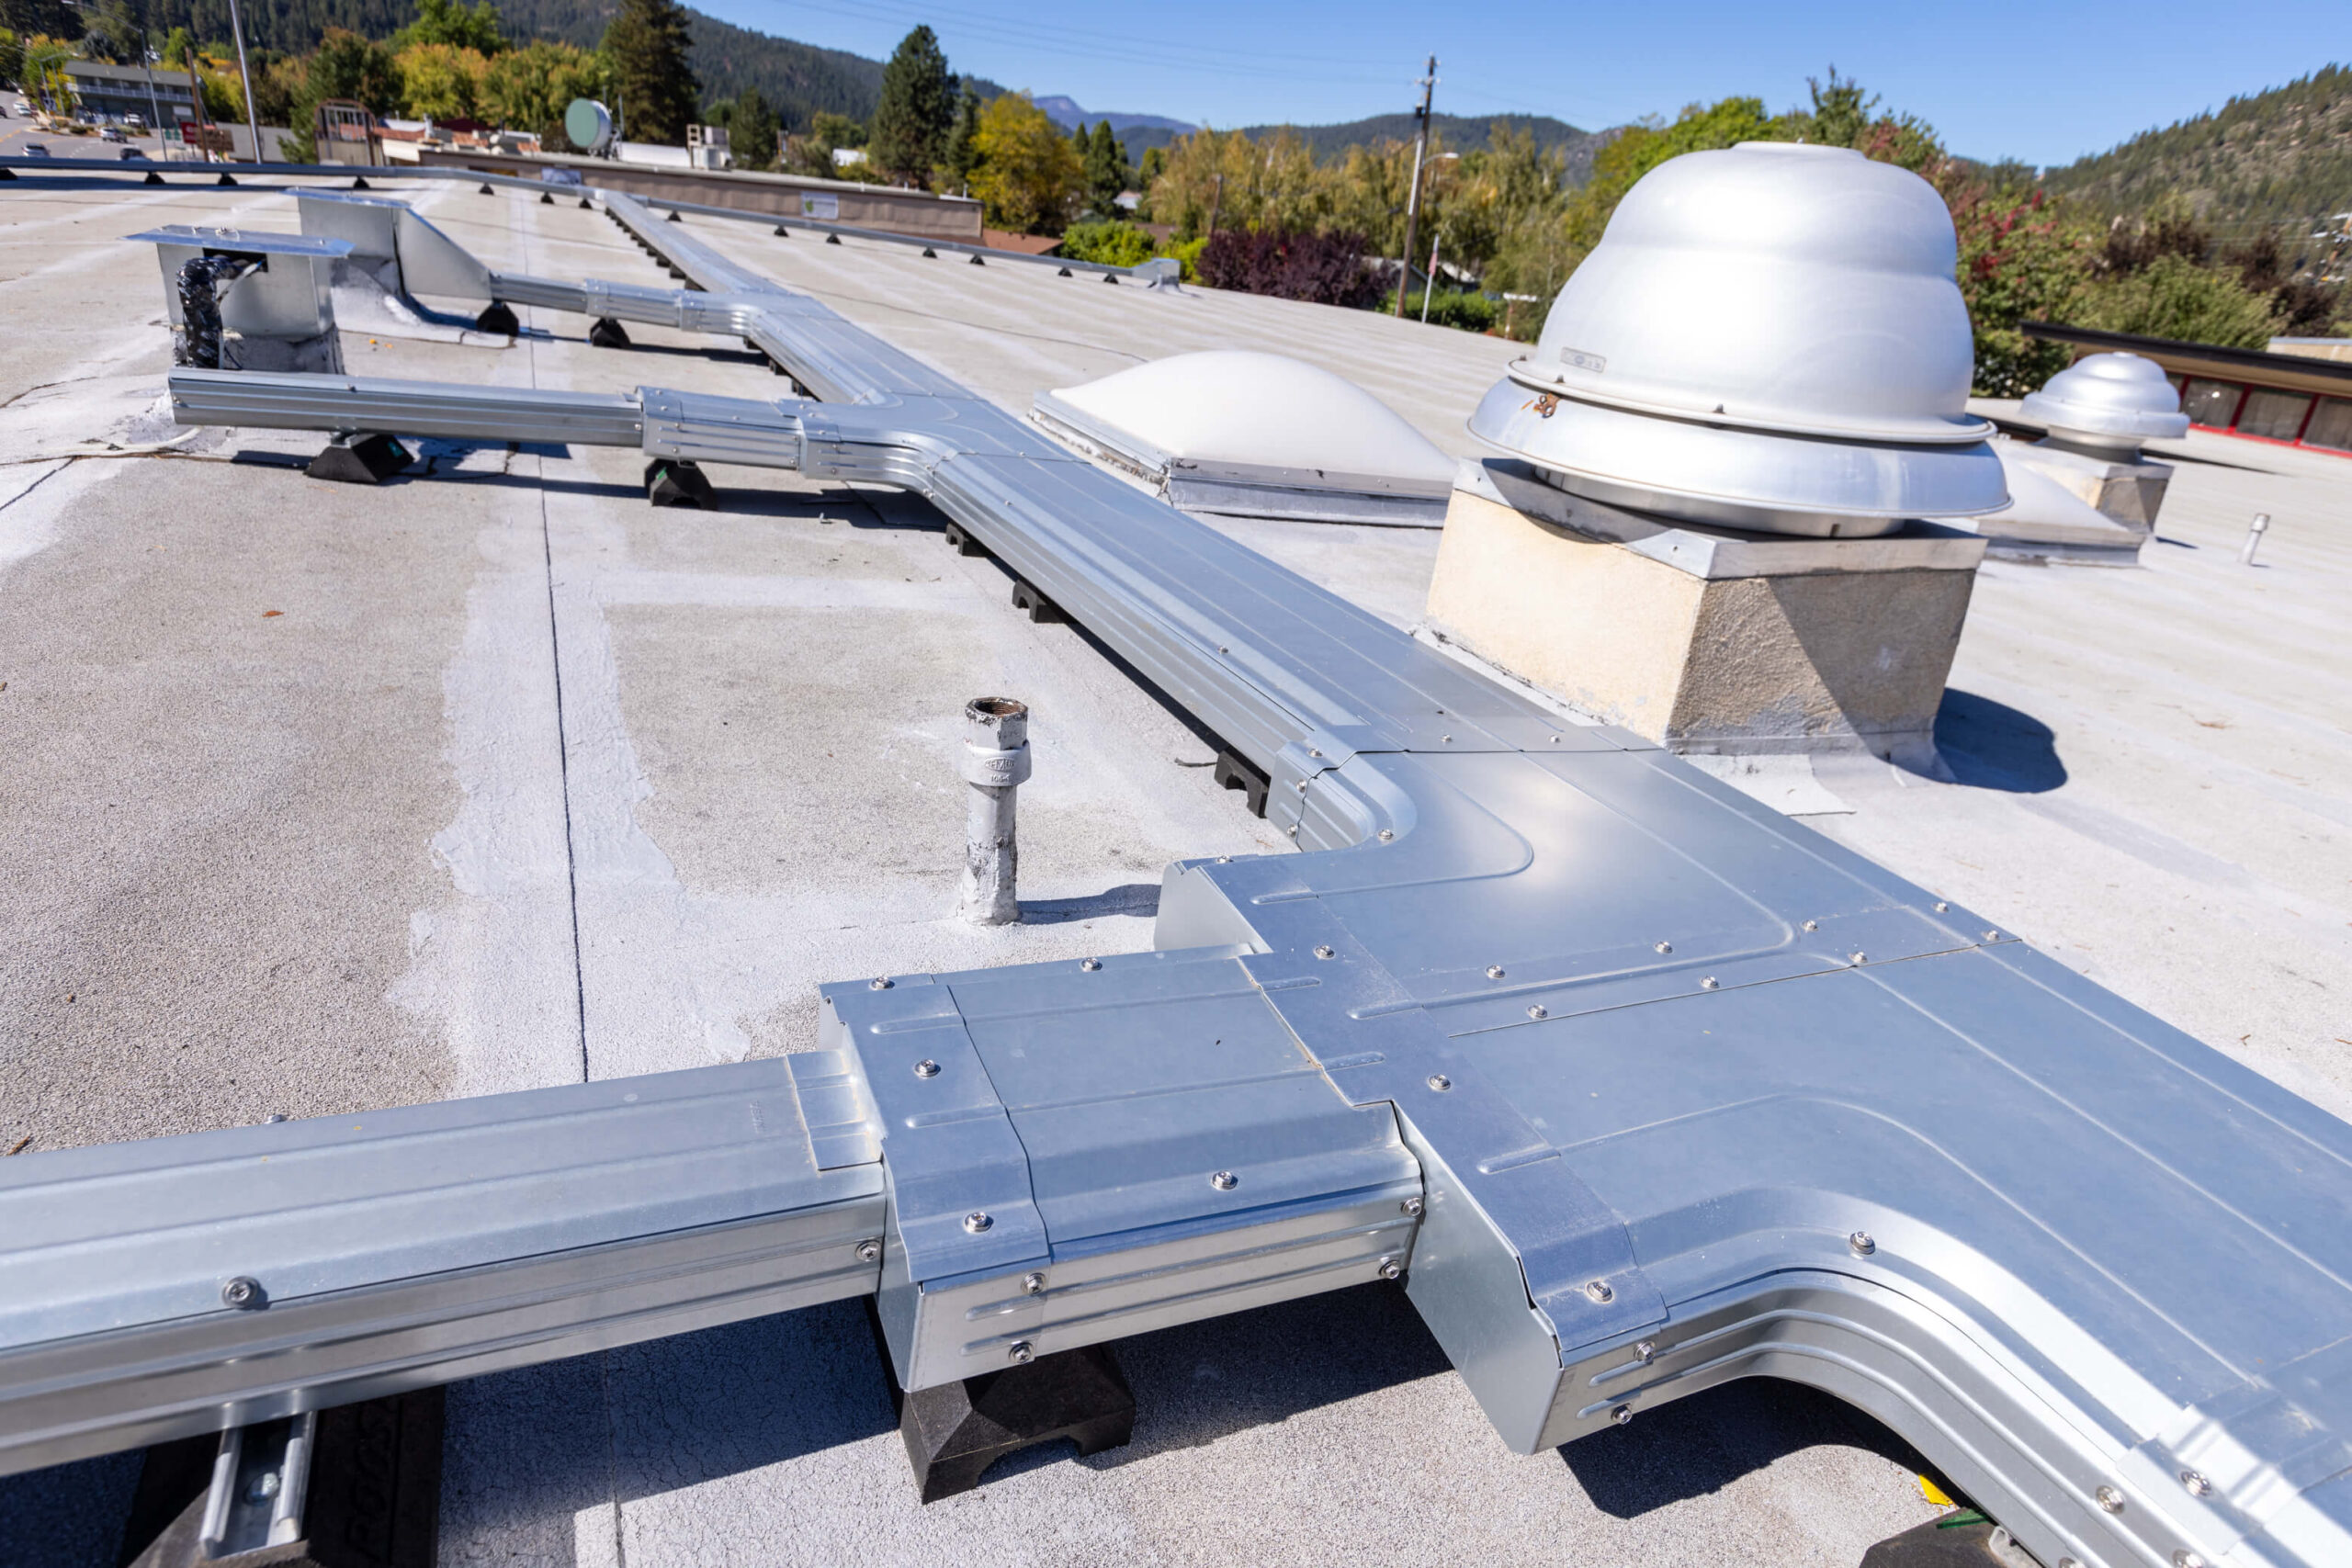
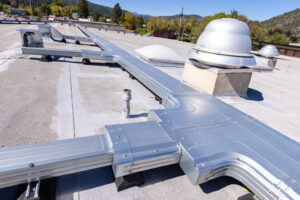
Quincy Junior/Senior High School, located in Plumas County, has been serving the local community for
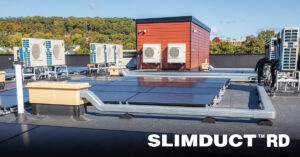
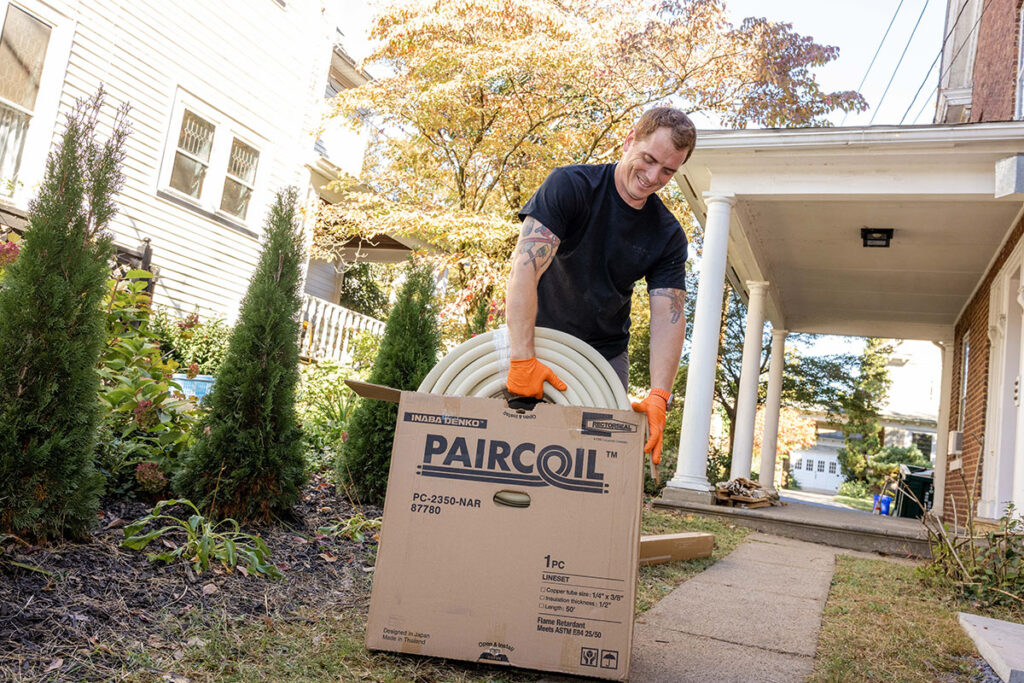
How Valley Mechanical Services Used Slimduct RD Casing for AC Pipes to Ensure Long-Term Durability
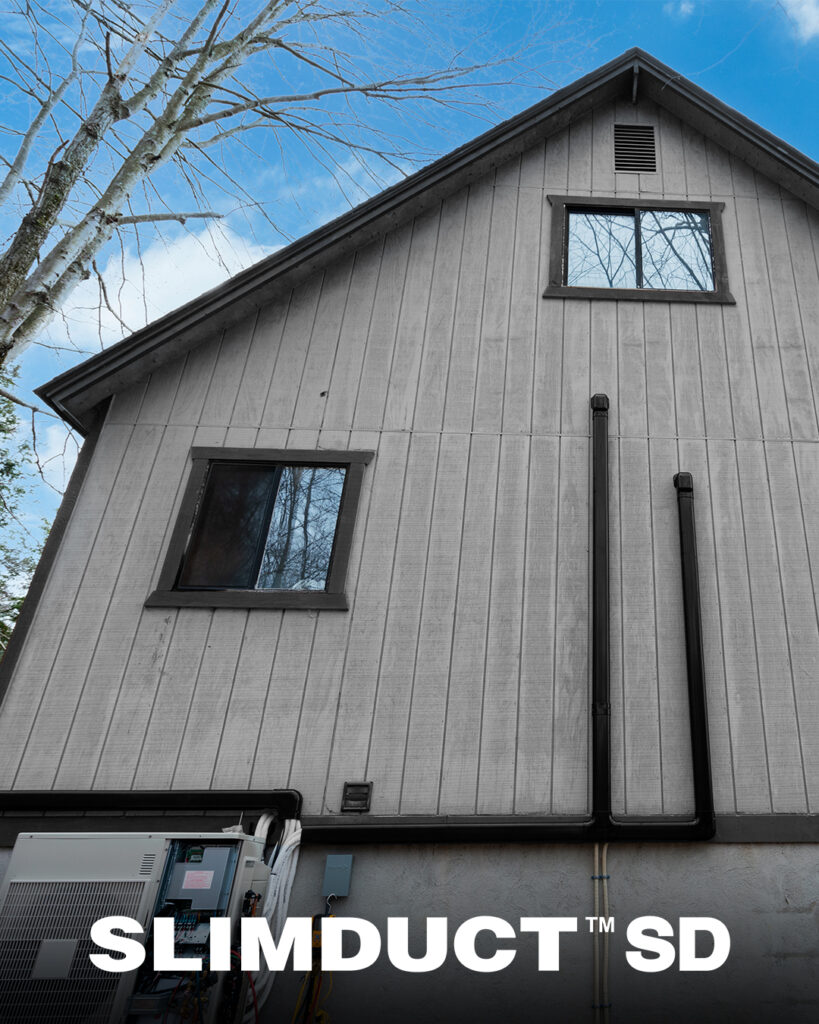
When you’re running line sets across long distances, through tight penetrations, or up against rigid
Inaba Denko America – Slimduct SWA Installation. SWA Base-Free Wall Inlet optimizes the installation process

Inaba Denko America was proud to take part in AHR Expo 2025 in Orlando, showcasing