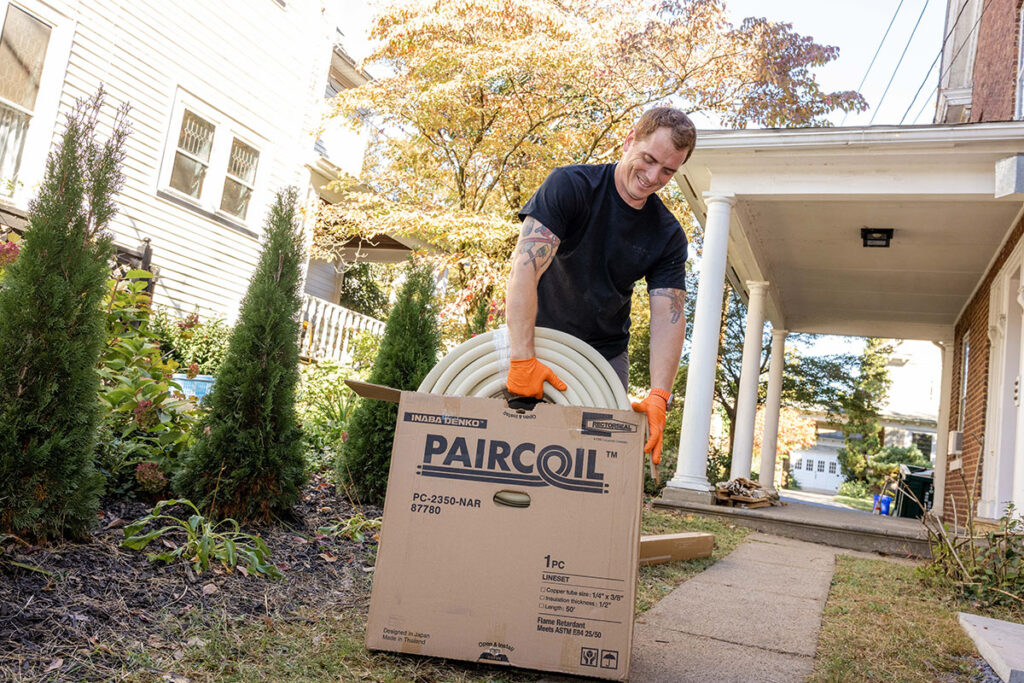
Paircoil: The Premium Lineset
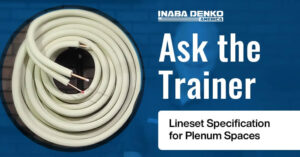
When you’re running line sets across long distances, through tight penetrations, or up against rigid
When you’re running line sets across long distances, through tight penetrations, or up against rigid
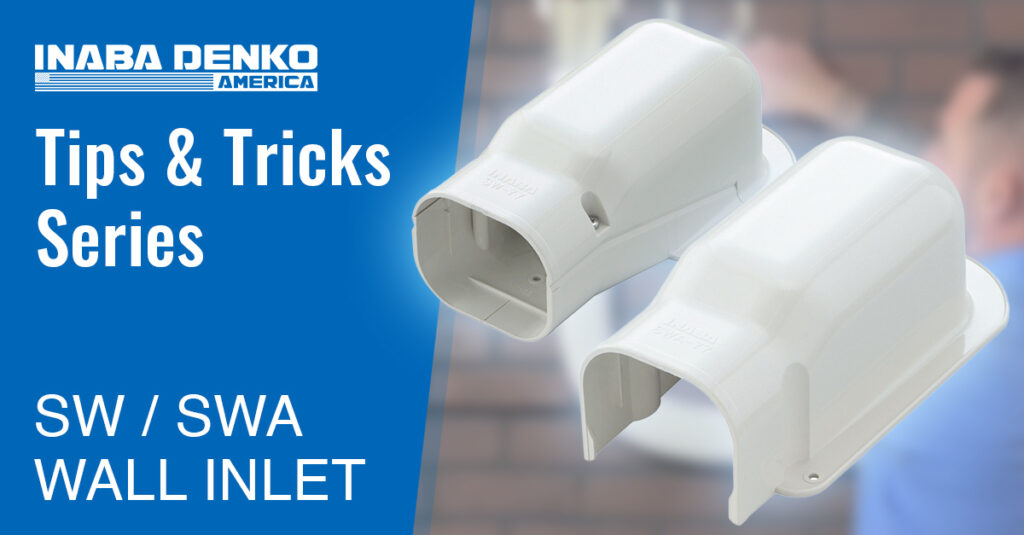
Inaba Denko America – Slimduct SWA Installation. SWA Base-Free Wall Inlet optimizes the installation process

Inaba Denko America was proud to take part in AHR Expo 2025 in Orlando, showcasing
Looking for a more streamlined alternative, the Allied Mechanical Air Systems team came across SuperLock—innovative
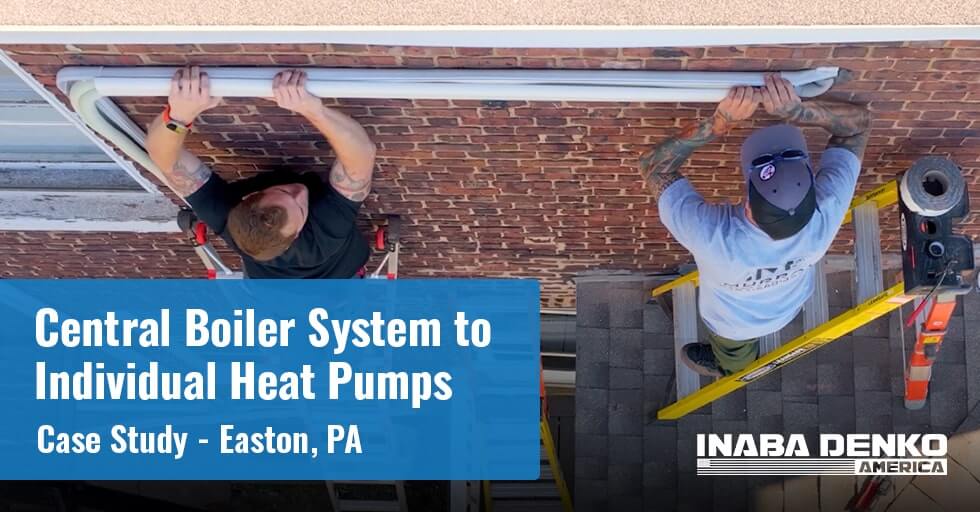
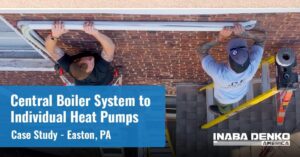
Switching from a central boiler system to individual heat pumps in an apartment building is
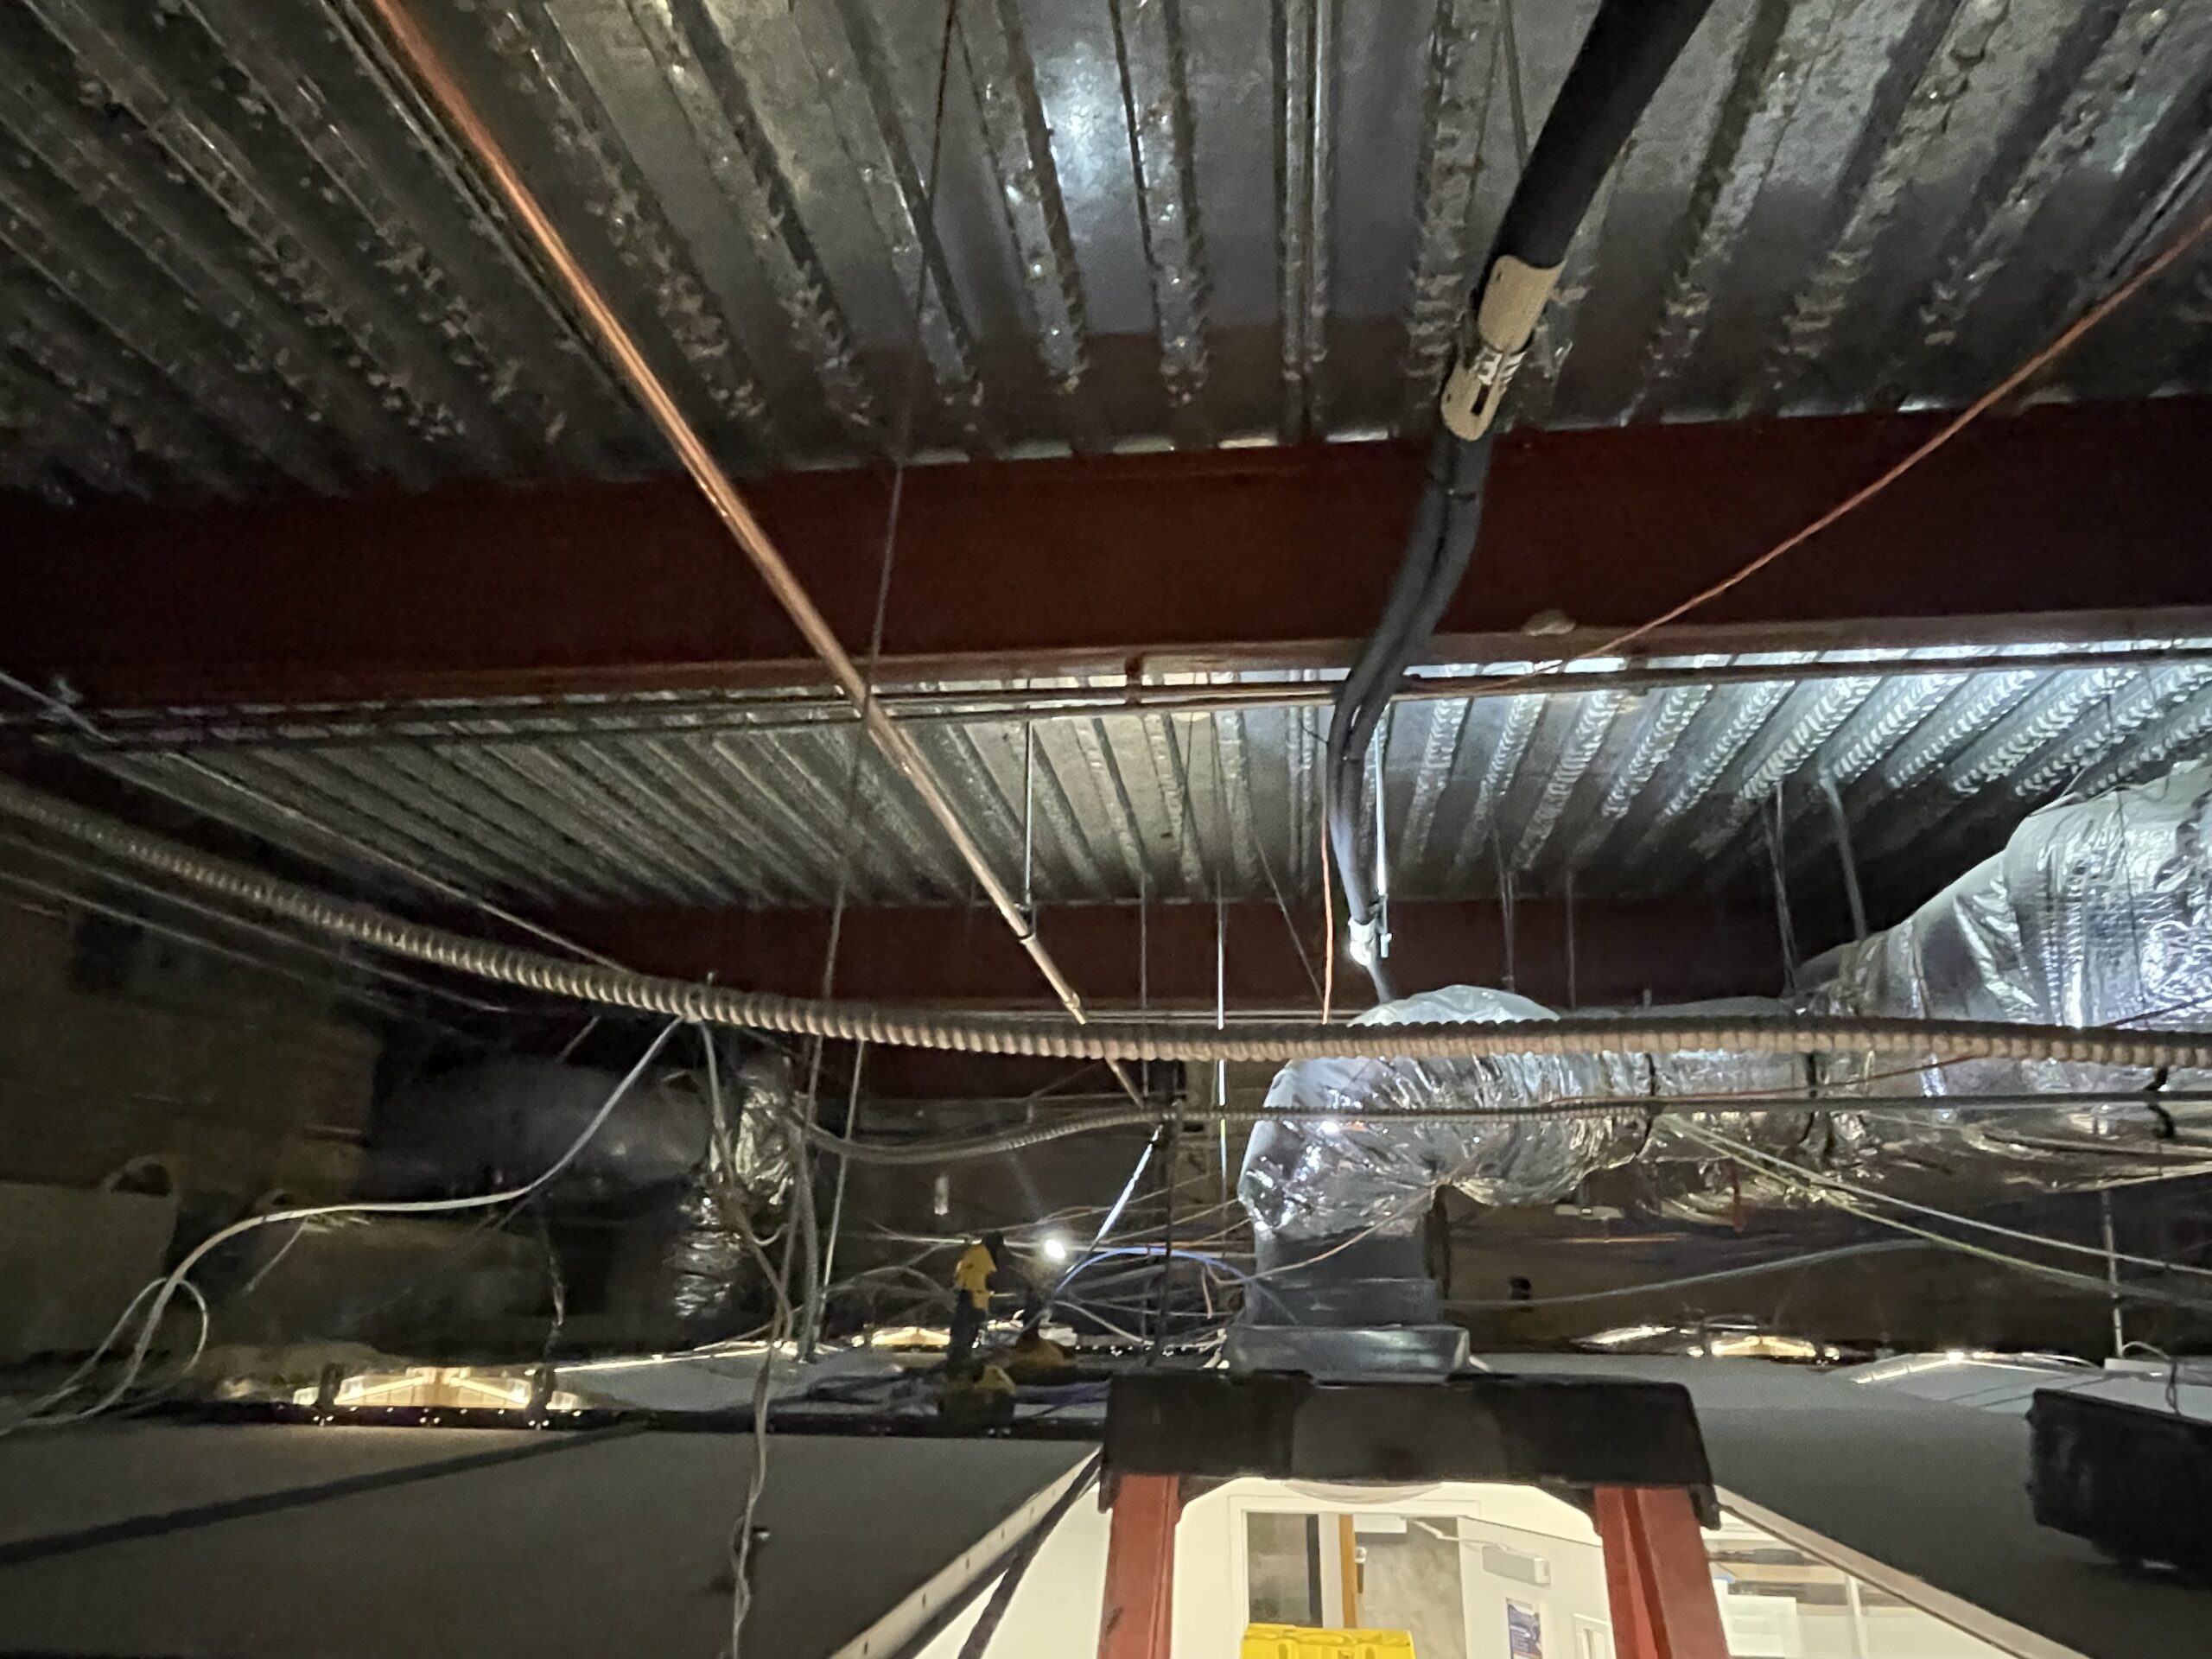
The International Mechanical Code speaks about the E84 being a requirement for supply and return

A New York apartment building had an electrification project requiring heat pumps for each individual
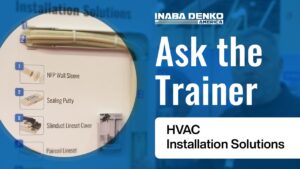
Kerry McIntyre demonstrates how Inaba Denko America solutions like the Wall Sleeve, Sealing Putty, Slimduct
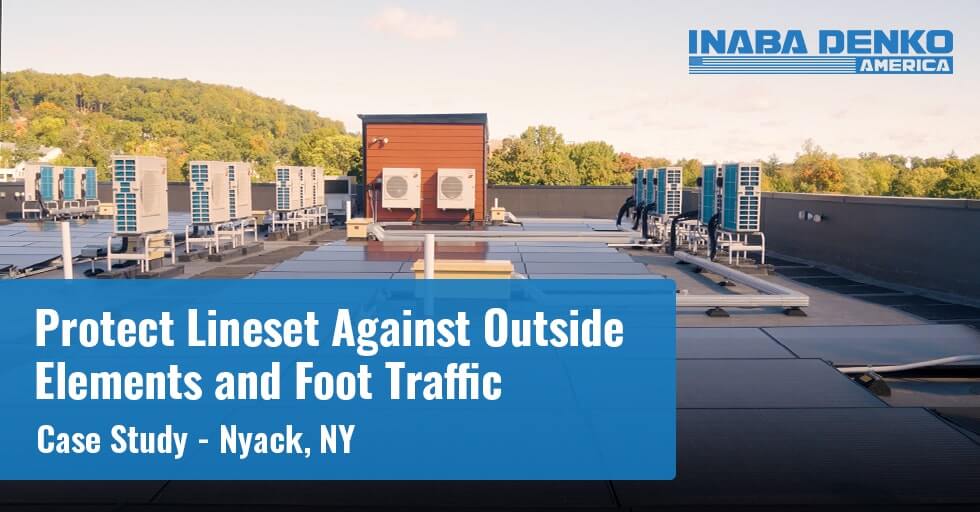
In Nyack, NY, a once-abandoned space has been transformed into a stunning living space featuring

For an office building converted into a multifamily housing project, Slimduct was used to secure