
In many retrofit or system replacement projects, one of the most overlooked components is the refrigerant lineset. These copper lines—responsible for carrying refrigerant between indoor and outdoor units—often appear reusable at first glance. However, years of exposure to oil, moisture, and oxidation can compromise them. When a new system is installed without proper remediation or replacement, those contaminants can lead to compressor failure, acid formation, or reduced system efficiency.
Why Lineset Remediation Matters
Lineset remediation is a crucial step in maintaining the longevity and performance of an HVAC system. Over time, refrigerant lines can degrade, become contaminated, or lose insulation efficiency—especially when exposed to outdoor conditions. Remediation allows contractors to reuse components that are still in good condition, reducing waste and cost while ensuring the entire system operates safely and efficiently. For systems with exterior linesets, proactive remediation helps extend service life and protect against environmental wear.
Ideally, the best approach is to prevent future damage before it occurs. Enclosing exposed linesets from the start with a protective covering—such as the Slimduct RD commercial lineset cover—provides long-term protection against UV rays, corrosion, and mechanical damage. This not only enhances system durability but also delivers a clean, professional finish to any installation, helping preserve both performance and appearance for years to come.
Contaminants such as burnt oil residue or acid from a failed compressor can cling to the interior of copper tubing. If left untreated, they can circulate through a new system, damaging expansion valves and coils. Proper remediation ensures the new refrigerant system operates efficiently, without hidden threats from the past.
The Remediation Process
A comprehensive lineset remediation involves several key steps:
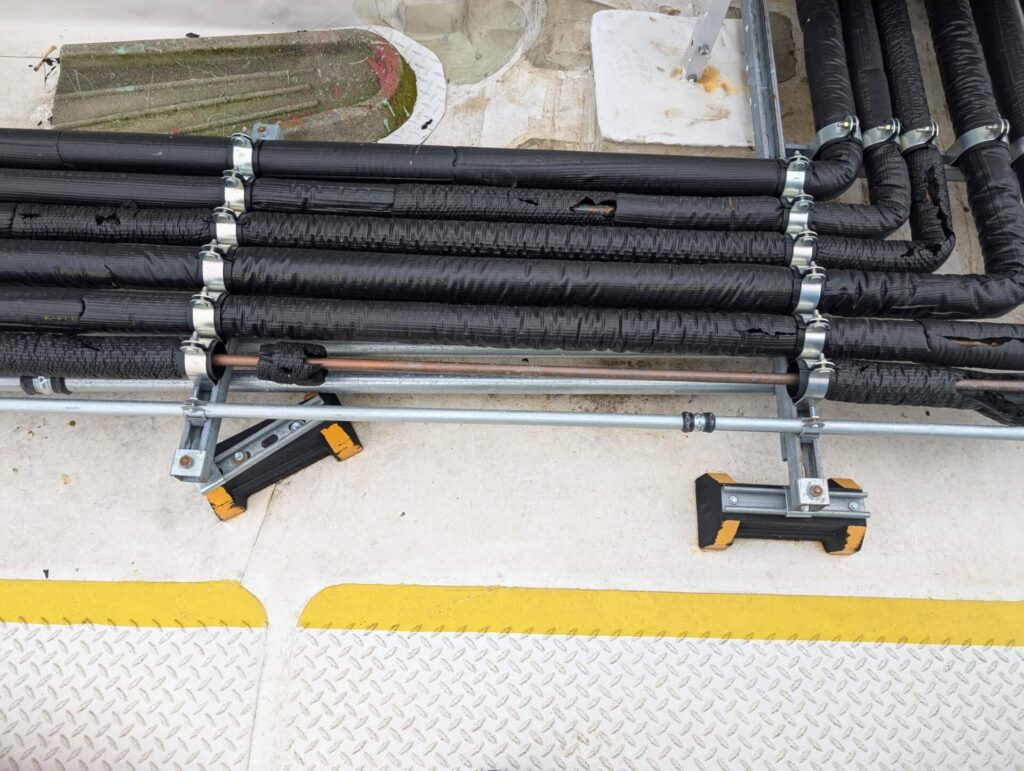
- Assessment and Pressure Testing
The technician inspects the condition of the existing lineset, verifying size, insulation, and integrity. Pressure testing ensures there are no leaks or weak joints before proceeding. - Cleaning and Flushing
Specialized flush agents or solvents are introduced to dissolve and remove contaminants from the tubing. This step is followed by nitrogen purging to ensure all residues and moisture are fully cleared. - Replacement (When Necessary)
In cases of severe contamination or damaged insulation, replacement is the safest option. - Protection and Aesthetic Enclosure
Once remediated or replaced, the lineset should be properly enclosed using lineset cover such as Slimduct RD for commercial projects. These covers shield the lines from UV rays, impact, and environmental exposure—while maintaining a professional, polished finish.
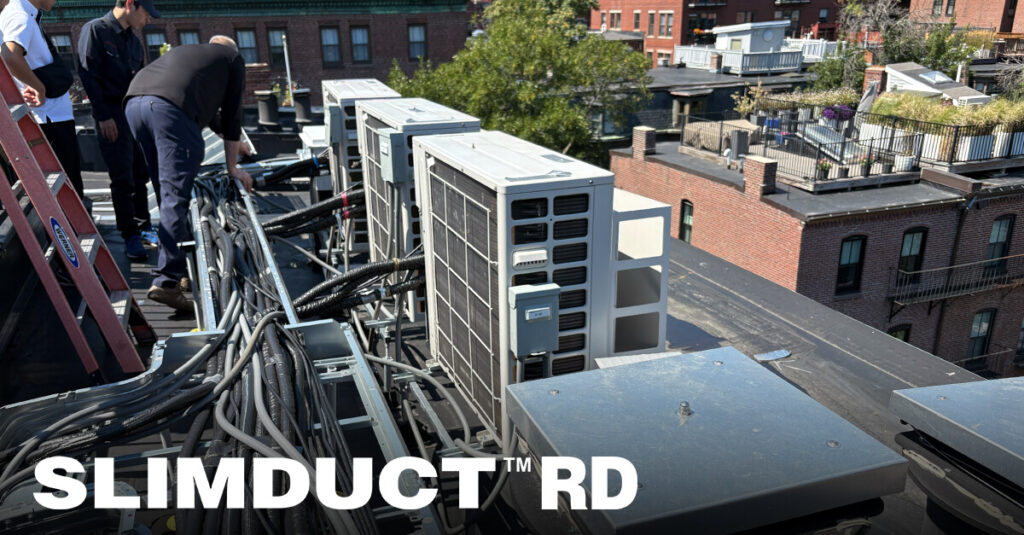
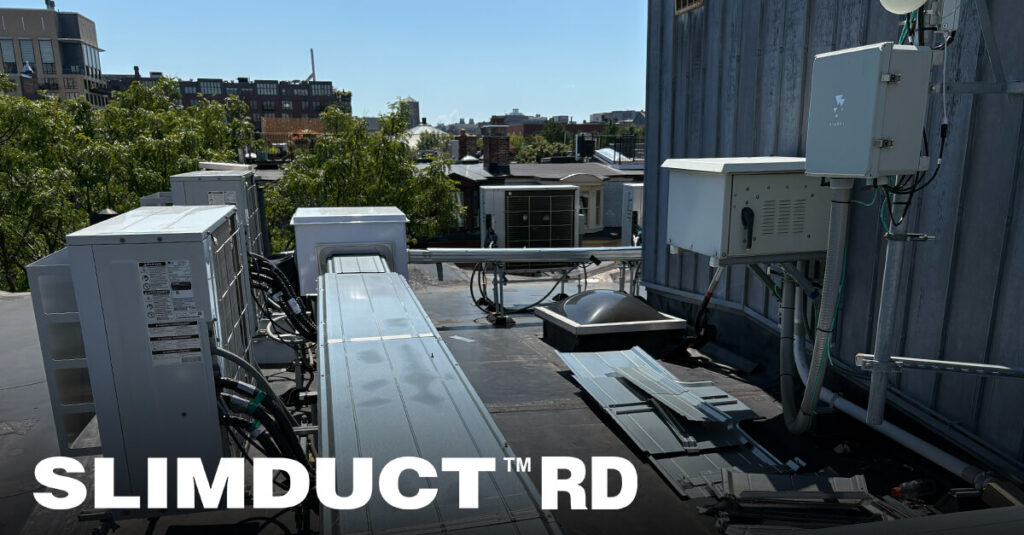
Case in Point: An Apartment Retrofit Success
In a recent commercial retrofit at an apartment building in Boston, MA, engineers discovered that the refrigerant lines needed replacement. Exposed lineset risk degradation and efficiency loss. The project was retrofitted using Slimduct RD—a heavy-duty, hot-dipped, and chromium-free coated steel system. The remediation transformed the installation into a showcase of best practices: secure, compliant, and built for longevity.
Key Takeaways
- Always assess existing linesets during replacement projects.
- Never reuse contaminated or damaged copper lines.
- Follow manufacturer guidelines for flushing and testing.
- Protect remediated or new linesets with high-grade enclosures for long-term durability.
The Bottom Line
Proper lineset remediation is more than just good practice—it’s an investment in system performance, reliability, and safety. Whether replacing an aging system or correcting a past installation, taking the time to clean, test, and protect your linesets ensures that it will stand the test of time.
